Tuesday, October 27, 2015
Monday, October 19, 2015
Master Shower Rebuild
The door frame showed signs of water penetration and the carpet felt damp to the touch.
BEFORE
Removed the baseboard and drywall and found the metal stud work to rusty
Removed the tile from the outside of the shower
And found that was a lot of moisture in the base of the shower
Once we got the go ahead, we began work, first removing the glass and frame
Removed the walls
Set up a de-humidifer to remove as must moisture as possible
The wooden frame of the curb to the shower was moldy
Starting to remove the floor of the shower
Once everything had been removed, it was time to start rebuild
Once the 1/2 wall had been built, and the shower linen install it was time to start building the base of the shower
Once the base had dried, it was time to install the Hardie-Backer and apply a moisture barrier for extra protection
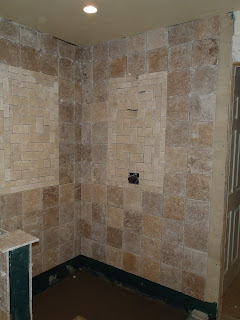
Once that was done it was time to start tiling the walls
Also tiled around the bathtub to help bring it all together
Once the walls were tiled, it was time to tile the floor and grout everything
AFTER
Mobile Home Renovation
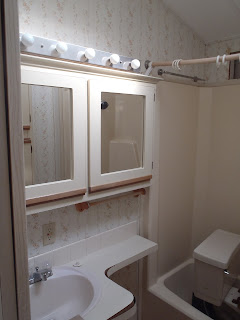
BEFORE
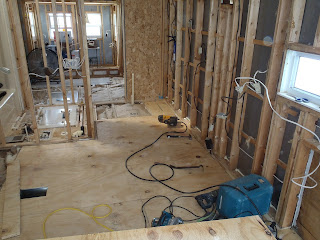
STARTING DEMO
STARTING TO PUT IT BACK TOGETHER
We had to sister board the perimeter of the mobile home so there was something to attach the new sub-floor too
Laying the sub-floor
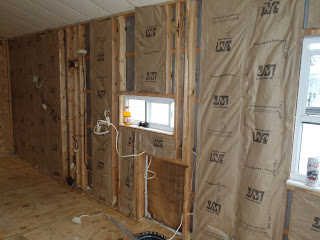
Installing new insulation
The new drywall is installed, textured and primered
Finally color on the walls
The new kitchen cabinets installed
Herring bone, wood effect tile floor throughout the mobile home
AFTER
Just a few finishing touches left to do. And this mobile home is good as new
Subscribe to:
Comments (Atom)


